 TextingReel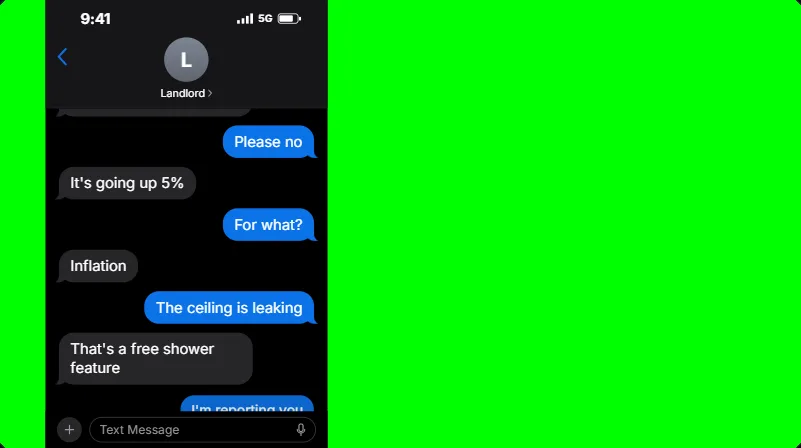
Three ways to get the chat on its own layer
1. Green background (works everywhere)
Set the background to Green and export MP4. Every editor can key out pure green: CapCut (Remove background, Chroma key), Premiere Pro (Ultra Key), DaVinci Resolve (3D Keyer), Final Cut Pro (Keyer) and mobile editors. It is the most compatible option.
2. Transparent MOV (desktop editors)
Set the background to None and export MOV. You get ProRes 4444 with a real alpha channel, the standard way to move transparent video into Premiere Pro, Final Cut Pro, After Effects and DaVinci Resolve. Nothing to key, perfectly clean edges. Files are large, so use it for the overlay layer only.
3. Transparent WebM (web and streaming)
Export WebM for a small VP9 file with alpha. It plays with transparency in web browsers, OBS and many web-based tools, which makes it ideal for websites and stream overlays. Most desktop editors, including Premiere Pro, do not read WebM transparency, so pick MOV or green for editing.
| Option | File | Best for |
|---|---|---|
| Green | MP4 (H.264) | CapCut, phone editors, any editor with chroma key |
| Transparent | MOV (ProRes 4444) | Premiere Pro, Final Cut Pro, After Effects, DaVinci Resolve |
| Transparent | WebM (VP9 + alpha) | Websites, OBS, web-based tools |
How to key out the green in popular editors
CapCut (desktop and mobile)
- Put your background footage on the main track and add the green chat video as an overlay above it.
- Select the chat clip, open Remove BG (or Cutout on mobile) and choose Chroma key.
- Use the color picker on the green area, then raise Intensity until the green disappears and lower it again if the bubble edges start to fade.
Premiere Pro
- Place the chat on a track above your footage.
- Drag the Ultra Key effect onto it and click the green with the Key Color eyedropper. The default settings usually work because the green is a single flat color.
- Or skip keying entirely: render MOV with no background and import it directly.
DaVinci Resolve
- Stack the chat above your footage on the Edit page.
- On the Color page, add a node, use the Qualifier to pick the green, invert it and connect the node's alpha output. Or import the transparent MOV, which needs no keying.
Why keying is easy here: TextingReel's green is one flat color with no shadows, gradients or motion blur, and it never appears inside the bubbles. That is the ideal case for any chroma keyer, so you rarely need to touch spill or edge settings.
Phone frame or bubbles only
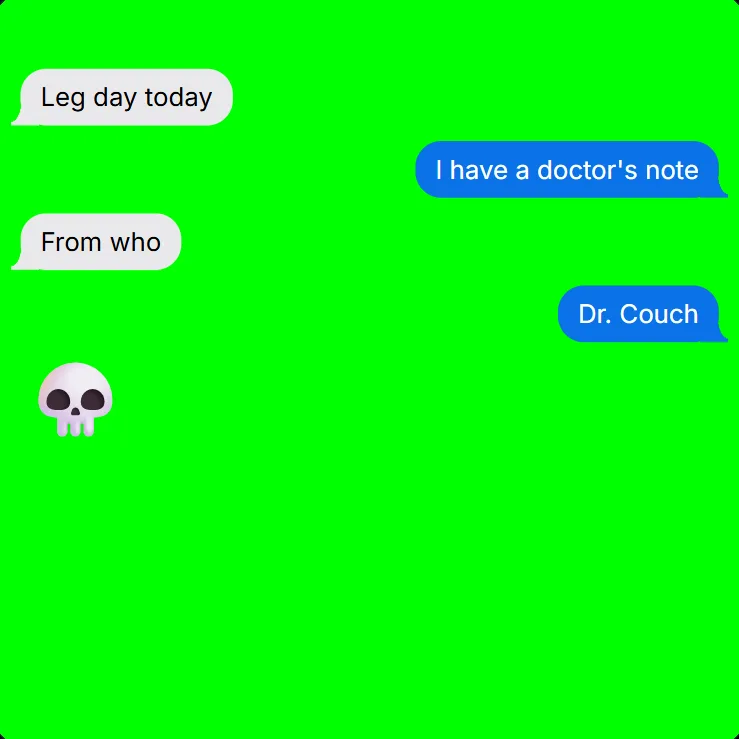
Keep the Phone screen frame (status bar, header, input bar) when you want viewers to see a phone. Switch to Bubbles only to get just the messages, floating over your footage. That is the cleanest look for gameplay and vlog overlays.
Reaction edits with the cue sheet
The classic format: chat, punchline, cut to a reaction meme, back to the chat. In TextingReel, add a pause after each punchline. The video holds still there, and every render writes a cue sheet next to the video:
Rent update (19.9s)

1. 00:11.9 - 00:13.9  (2.0s)  after "That's a free shower feature"  [shocked]
2. 00:17.0 - 00:19.5  (2.5s)  after "To who? I'm also the building manager"  [laughing]
Drop your reaction clips at those times and the edit is done. The note in brackets is your own reminder of which reaction fits.
Green screen, transparent WebM and MOV, reaction pauses and cue sheets, all in one $12.99 app.
Get TextingReel $12.99Layouts for reaction videos
- 9:16 Reaction Space puts the phone at the top and leaves the bottom free for a face cam or meme.
- 16:9 Reaction Space puts the phone on the left and leaves the right side free, ideal for YouTube.
- Full screen fills the video with the phone. Combine it with pauses and cut away to reactions in your editor.